


Animation on Showit – GIF, VIDEO, SVG
February 13, 2022
Did you know that you can add animated icons on Showit? Of course, there are many ways to do that, but I will talk about the most recent one that I discovered. And that is – Animated SVG. But before we dive into that, let me share a few ways you can make your website more dynamic. From GIF and VIDEOS to CODE and SVG. What is my favourite way to create animation on Showit?
1. GIF
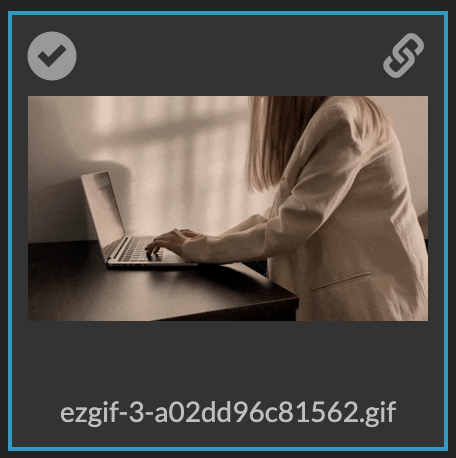
I think the most creative way to add some dynamics to your website is to add a GIF. To do that you should have your gif first. I personally use the website https://ezgif.com/video-to-gif to convert my videos into GIF files. Or you can just download some from the internet.
To add GIF on Showit you just need to click on Media Library and upload your GIF. It’s should be working on both the Desktop and Mobile screens.
Note: Be careful with the GIF size. I think optimal size gif is around up to 35MB. The bigger is the size – the slower loading
2. Video
I think it’s a pretty obvious way to fresh up your website is to add a video on background. To do that:
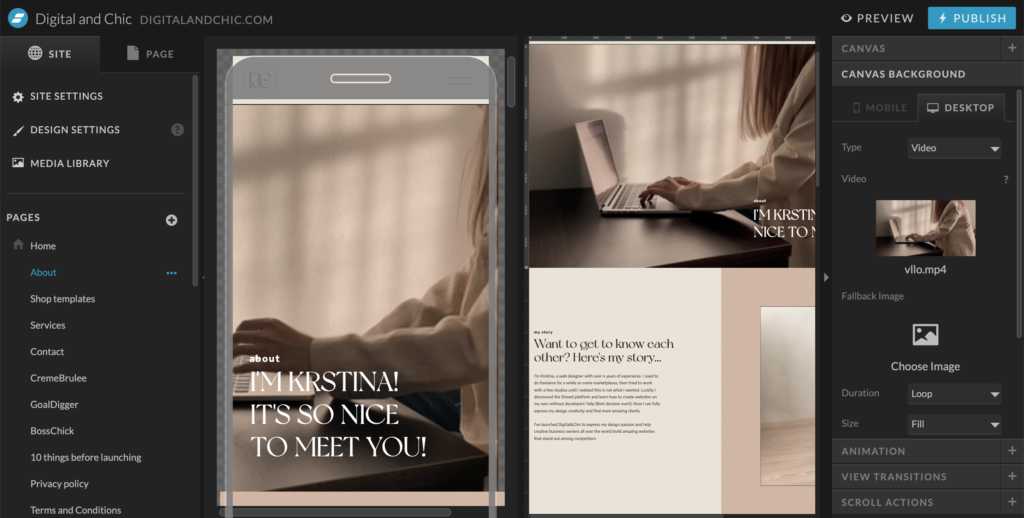
1) Choose the section you want to add video
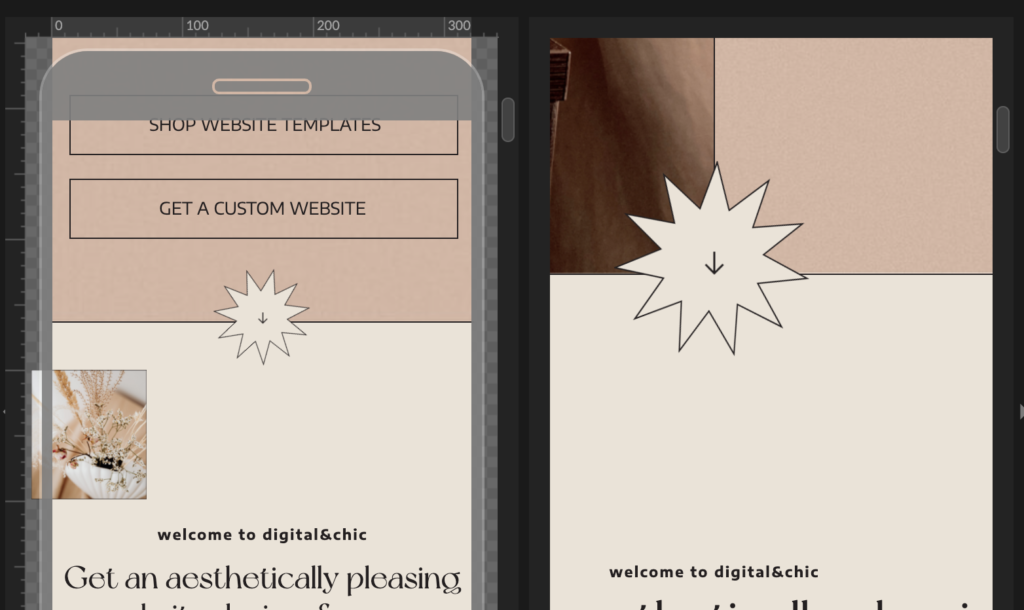
2) Click on Canvas Background. On the dropdown choose a VIDEO. Upload your video.
It’s a feature that is available only for Desktop background. On the screenshot you can see on the right is Desktop with the video, but for mobile, you need a GIF instead. (Look at the video to gif converter link I mention before)
But what if you don’t want to implement your video in the background? Well, technically you can do that.
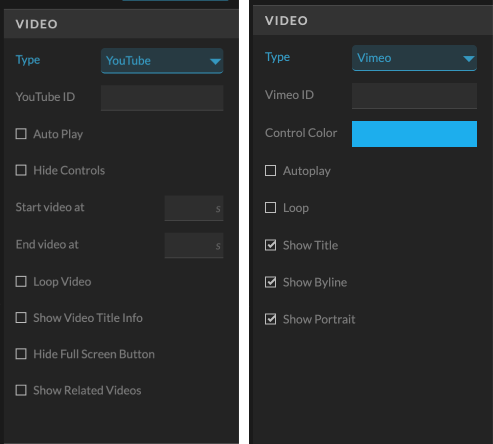
You can add a video by pressing VIDEO on the menu panel. Showit allows you to choose between Youtube and Vimeo. I think it’s a good feature for the Review section. But for animation, it’s a bit too much for me. Cause even though the video menu panel says you can hide control it does not disappear as much as I want to.
Instead, I like to add a video from Vimeo with the code. For that, you need to upload the video on Vimeo and click on the Share button. I can customize it more properly and for autoplay don’t forget to add: muted=1&autopause=0&
Cause apparently, browsers don’t like autoplay video, we need to add code ourselves.
3. Showit Transition
Yes, inside Showit itself there’s a way to create animation for Images and other elements. Not my favourite for sure. But you can add it for your images or menu for example to a more smooth pop-up effect. Nothing much you can do about it. I recommend Fade. The most natural one. Others effects look a bit weird for me, but I think it could be looking good depending on your website theme. To do that click on the object you want to animate. On the Right panel choose the Transitions tab. Voilà! Now choose an effect and customize the right speed.
4. Code
Showit is allowing to you add an HTML, CSS and even Javascript code so that means you can add any coded animation! What a freedom right. I personally use a simple HTML Scrolling Text famous <marquee> tag. If you want something like on my website here’s the code:
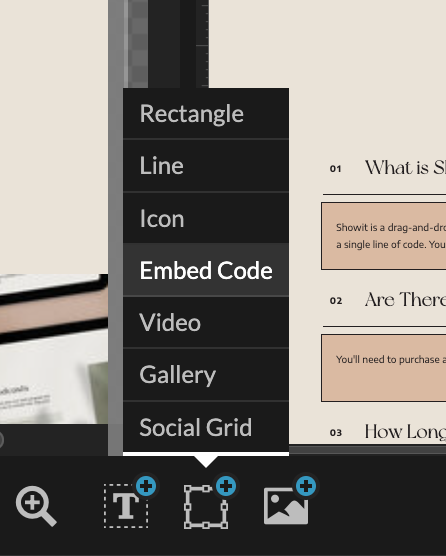
<x-marquee count="20" full-width=""> Your TEXT GOES HERE </x-marquee>

To add HTML click on Embed Code on the menu pannel. Then paste your code. Or click on the Page instead and choose ADVANCED SETTINGS tab to add CSS animation. Should be also working

5. Animated SVG
This one I’m the most excited about. You can animate any of your SVG Icons without the code! For example, I can show you my website star icon or Boss Chick template elegant animated lines. I think it could be also used for any SVG animation.
So I discovered this when one of my long-term clients asked me to do animation for their website. But before sending them animated SVG I decided to test it on Showit. And it worked! Showit can use animated SVG.
Okay, so how does it work? For that, you need your SVG icon. So either download somewhere or any editor that saves icons in SVG format. I personally use Figma – my favourite design tool. Canva is also a great option.
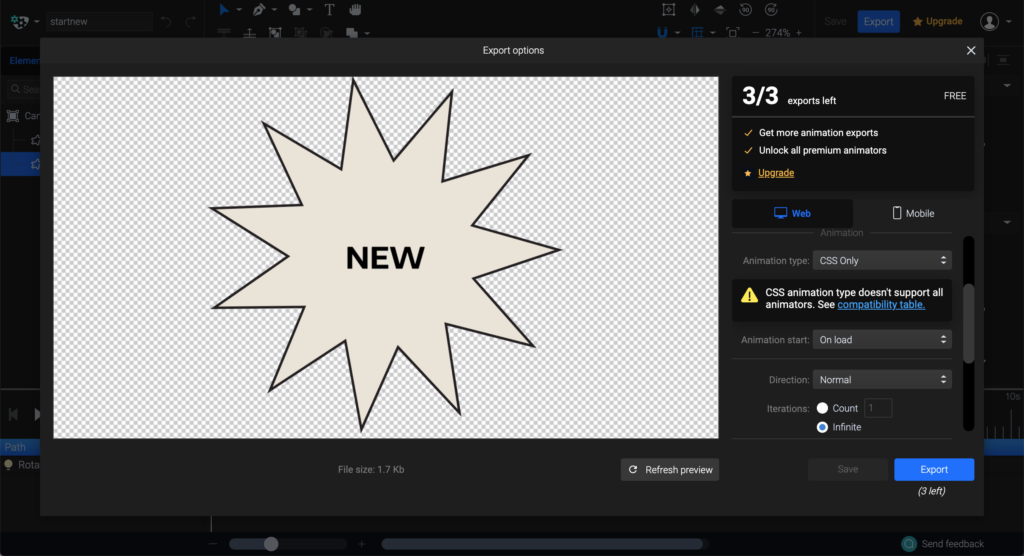
Next, we go to SVGator app. I think the first 3 exports are free so you can be tested out. Upload your SVG and add any animation you want. To do that click on the Canvas choose what part of icon you want animate and click Animate. Play around as much as you want. I personally add simple Rotate animation, then rotated the star to 360° and it worked! Now click Export > choose Animation type: CSS only > choose Iterations: Infinite (so it’s going to be on a loop) and click Export. Now you have the animated SVG that you can add on Showit (upload to Media Library).
So here are my ways to add animation on Showit. For beginners, I recommend a GIF or Video. And you can also add smooth transitions that Showit has on the menu. If you are a professional designer – play with the code, create animated icons. I think it’s a really fun way to create a dynamic for any website.
Let me know if you have any questions, I’m always glad to help. Or maybe you know any cool ways to add animation to Showit website? Let me know in the comments.
exlpore mroe
Resources
take a look
Find a collection of my favorite tools, resources, and products for your business! From free Showit templates to websites tips. Explore and enjoy!
")
templates shop
shop templates
Easy to use Showit website templates are the perfect option if you are on a tight budget, on a short timeline, or want to customize a website on your own

work with me
work 1:1
With our website design template customization service, you can have a stunning and fully personalized website without the hassle of doing it yourself.
")